One of the most popular manicure trends at the moment is the gradient manicure. This look is much easier to achieve than it you'd think, so here's how to do it!
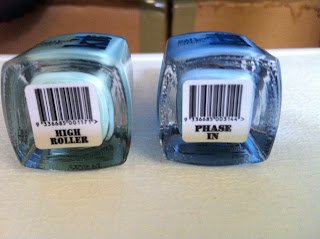
Firstly, choose all the colours you want to use. You can use just two, or as many as you want. I chose to use Kit High Roller as an accent on my ring finger and Kit Phase In on all the others. You'll also need to have a make up sponge, or household sponge at the ready cut into a small piece so you can sponge the colour on to your nail. The best type of sponge I have found to use is a foundation sponge because the surface is the most even.
Kit Nail Polish available at www.kitcosmetics.com.au
Now, paint your nails all one colour and allow for this to dry. This works best if it's the lightest colour as the others will show up better on top. I used China Glaze Sweet Hook; a gorgeous lavandar creme. Then when this is dry the fun part begins.
I find the best way to do this is to paint your sponge directly with the polish brushes as you'll get an even distribution of colour on the sponge as well as having more control of where the colour goes. Start with your base colour (the colour you've already got on your nails) at the bottom of the sponge, and then paint the other colour/s at the top. Then you sponge directly and gently on the nail. You may need to do this a few times to get the desired opacity of colour, or you can just do it once to make it more subtle.
After you're happy with the coverage, you can either put on your top coat, or I chose to add a coat of China Glaze Fairy Dust (the best glitter holo top coat) to make my nails a bit more magical.
xx


No comments:
Post a Comment